Point in Time Restore
Recover your database to a point in time
Sometimes you will want to restore the database to a particular point in the past, just prior to running a data conversion script that encountered errors, or to refresh your stage environment to a state before an upgrade script was run. This is called a Point In Time Recovery or PITR.
Amazon RDS for PostgreSQL allows restore to any point in time during your backup retention period. This is possible through the use of automated backups in combination with transaction logs, which are uploaded to S3 every 5 minutes.
So far in this section of the lab we have used the AWS Management Console for our tasks. You also can administer your RDS PostgreSQL instance from the command line using the AWS CLI. To demostrate this we will use the command-line interface for this particular lab.
Amazon RDS keeps track of the latest restorable time for your database. We will lookup this information using the AWS-CLI. To run these commands we will use the Cloud9 enviornment you setup in the prerequisties section. If you haven’t done this, return here and complete this step.
Using your EC2 instances, lookup the latest restore time for your database.
aws rds describe-db-instances \
--db-instance-identifier rdspg-fcj-labs \
--region $AWSREGION \
--query 'DBInstances[0].LatestRestorableTime' \
--output text
Sample output below shows a latest restore time of Octorber 6, 2023 at 14:04 UTC
2023-10-6T12:04:19Z
Using the AWS-CLI we can use the following command to restore the database to the latest restorable time we looked up in the prior step. Be sure to update the time.
aws rds restore-db-instance-to-point-in-time \
--source-db-instance-identifier rdspg-fcj-labs \
--target-db-instance-identifier rdspg-fcj-labs-restore-latest \
--restore-time 2023-10-6T12:04:19Z
You will see output similar to:
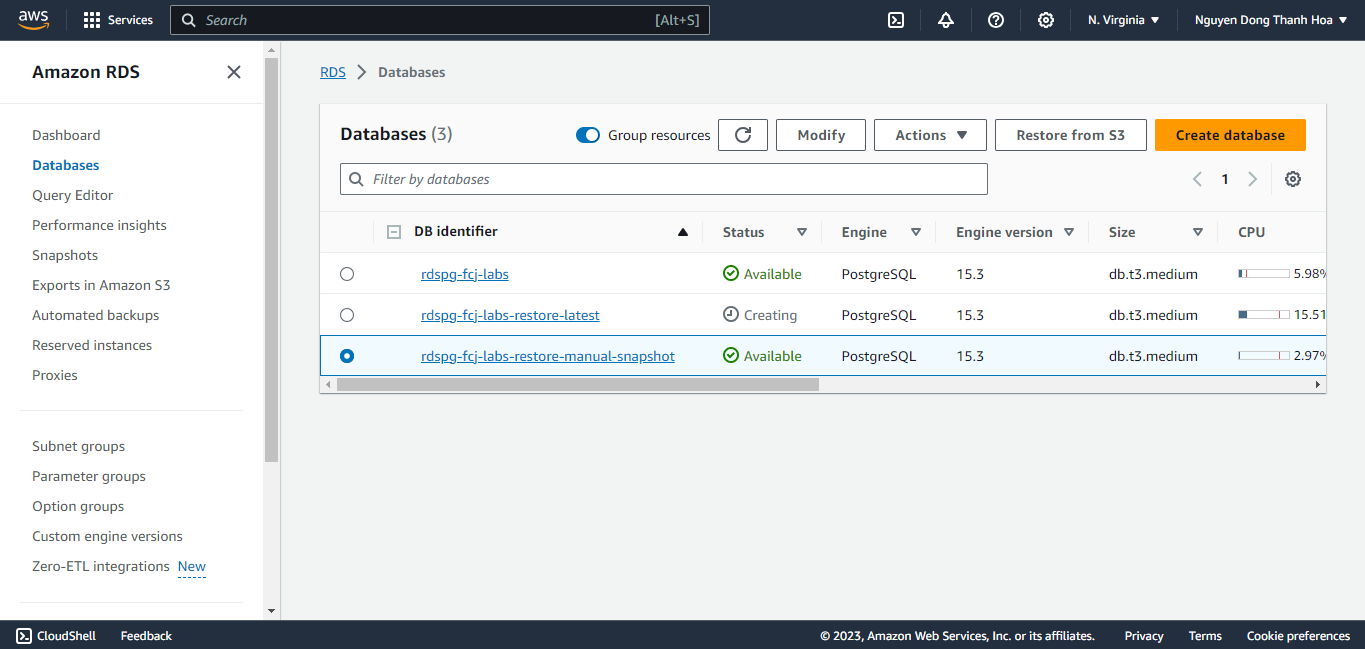
Now, let’s return to the RDS Console to check the restoring database. If you look at the details, note all the database specifications (e.g. DB Instance Class, Security Group) match the original database.
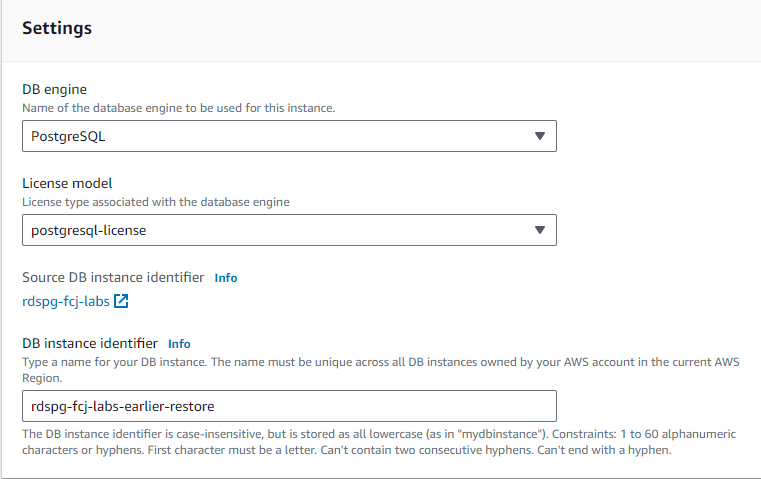
Now we will use the RDS Console to restore our database to 30 minutes prior. Select the
rdspg-fcj-labsdatabase, choose Actions, and select Restore to point in time.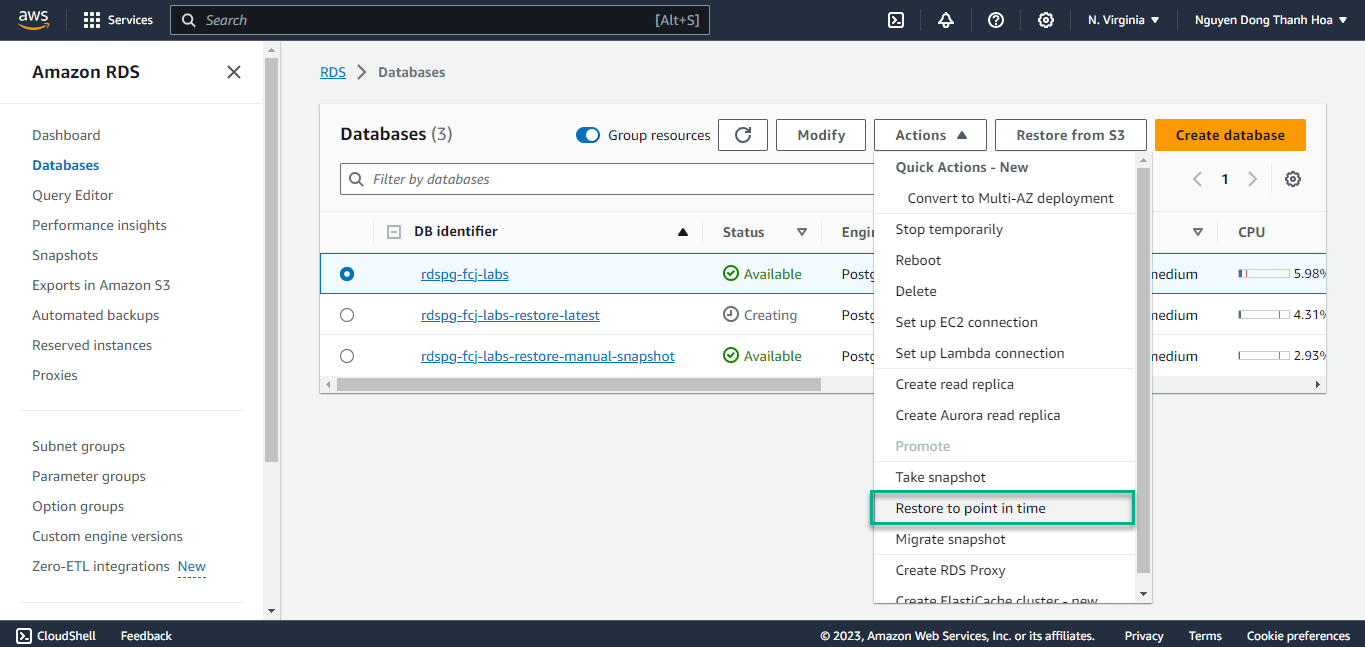
On the Launch DB Instance page, choose a custom and select a time 30 minutes prior. Enter a new DB instance identifier (e.g.
rdspg-fcj-labs-earlier-restore), leave the remaining information at default values and click on Restore to point in time.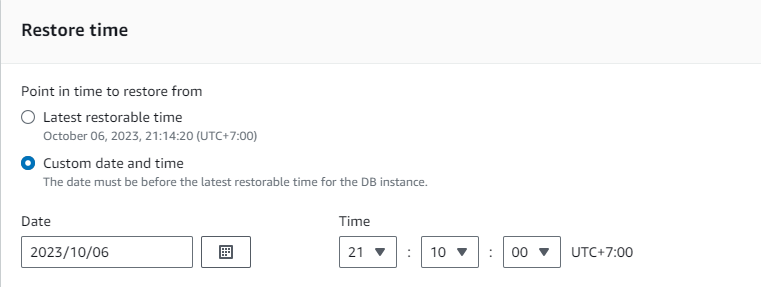
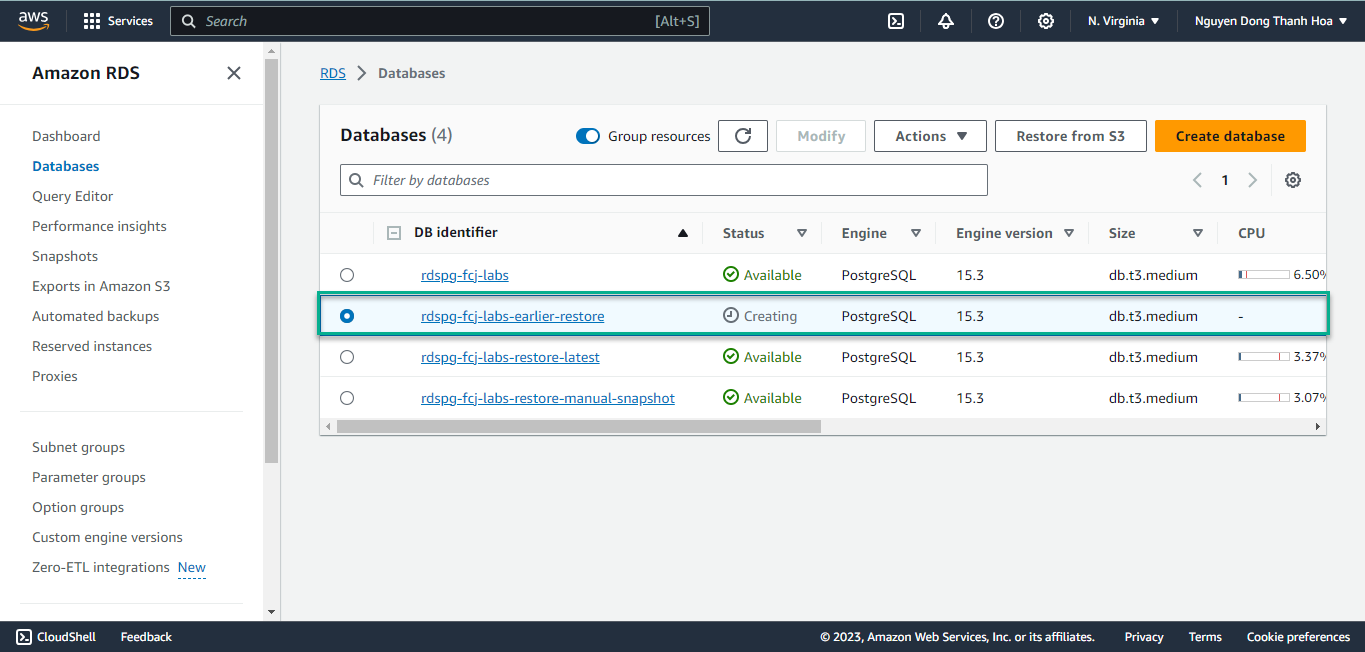
As the restore begins you will be take back to the list of databases and should see your new instance being created.